How You Can Incubate a Store Bought Egg Step by Step
You can only incubate store-bought eggs if they’re fertilized, which usually they’re not.
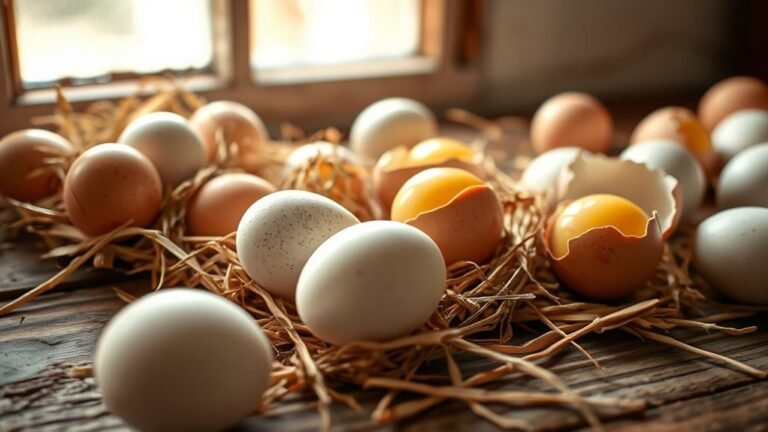
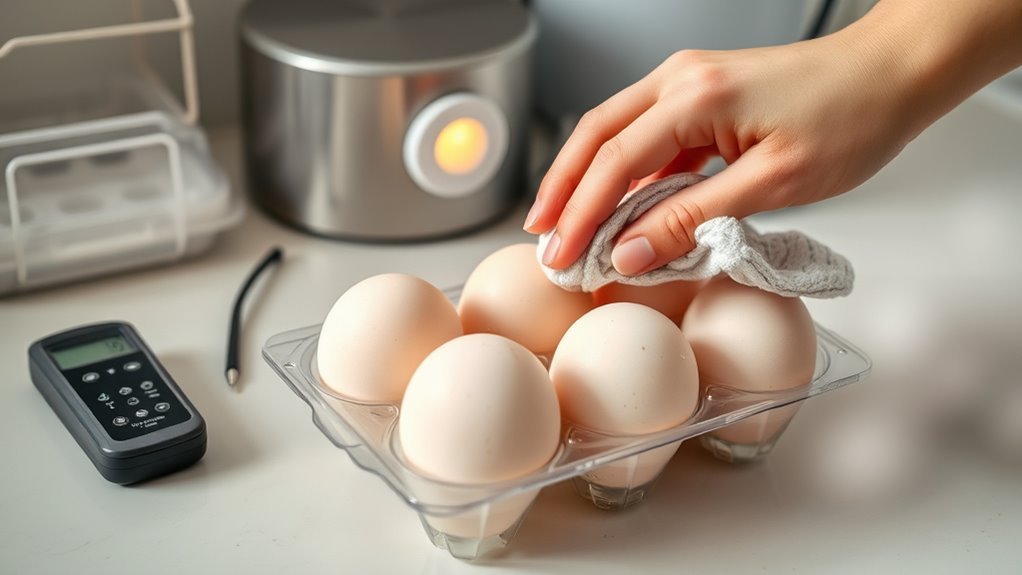
First, pick fresh, unwashed eggs from a reliable source where hens have mated with roosters.
Store them at room temperature for up to a week before incubation.
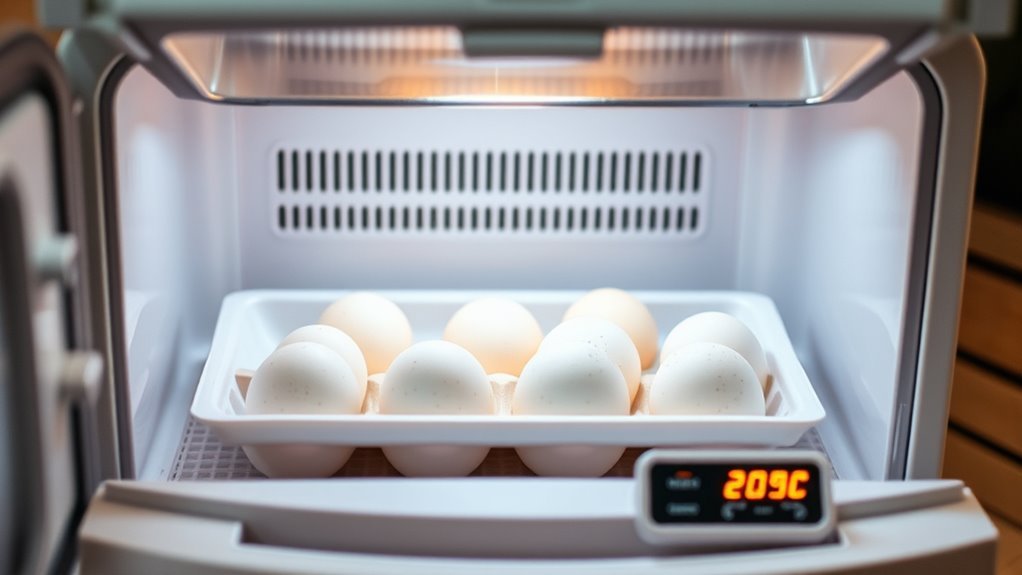
Clean and preheat your incubator to 99.5°F with 50-55% humidity.
Place eggs large end up, turn them several times daily, and candle around day 7 to check development.
Keep conditions steady for best results.
To master the full process and boost hatch success, keep exploring the key steps involved.
Understanding Fertility and Store Bought Eggs
Although store-bought eggs might look like they could hatch, they usually won’t because commercial producers don’t keep roosters with their hens.
Without rooster mating, the eggs you buy are generally unfertilized, meaning no embryo development will occur during the incubation process.
If you want to hatch eggs successfully, you need fertilized eggs, which only happen when hens have mated with roosters.
Even if you manage to find fertilized store-bought eggs, you must pay close attention to storage conditions and egg viability.
Eggs stored too long or improperly can lose their ability to develop embryos, reducing hatching success.
Preparing Your Incubator for Store Bought Eggs
Before placing your store-bought eggs in the incubator, you need to prepare the environment carefully to give them the best chance of developing.
Start by thoroughly cleaning and sanitizing the incubator interior and equipment with a 10% bleach solution, then rinse and dry completely.
Begin by sanitizing the incubator using a 10% bleach solution, then rinse and dry thoroughly.
Next, test and calibrate the incubator’s temperature and humidity probes at least 24 hours before setting your eggs to ensure accurate readings.
Place the incubator in a stable, draft-free spot away from direct sunlight, children, and pets.
Set the temperature to 99.5°F and humidity to 50-55%, verifying both with reliable instruments.
Finally, run the incubator empty for 12-24 hours to stabilize temperature and humidity levels before adding your store-bought eggs.
This preparation guarantees a consistent, healthy environment for incubation.
Proper Storage and Handling of Store Bought Eggs
Since store-bought eggs are usually unfertilized, you mightn’t see any chicks hatch unless you source eggs from farms with breeding hens.
For proper storage and handling, keep store-bought eggs at room temperature between 55-65°F with the large end up.
Avoid refrigeration, as cold temperature can harm embryo viability, especially in fertilized eggs.
Store eggs no longer than 7 days before incubation to maximize hatch success.
Handle each egg gently to prevent cracks or damage to the eggshell, which could compromise embryo development.
Don’t wash the eggs before incubation; the natural bloom protects them from bacteria.
Maintain consistent temperature and humidity in storage to support embryo health, preparing your eggs well before setting them in the incubator.
Setting Store Bought Eggs in the Incubator
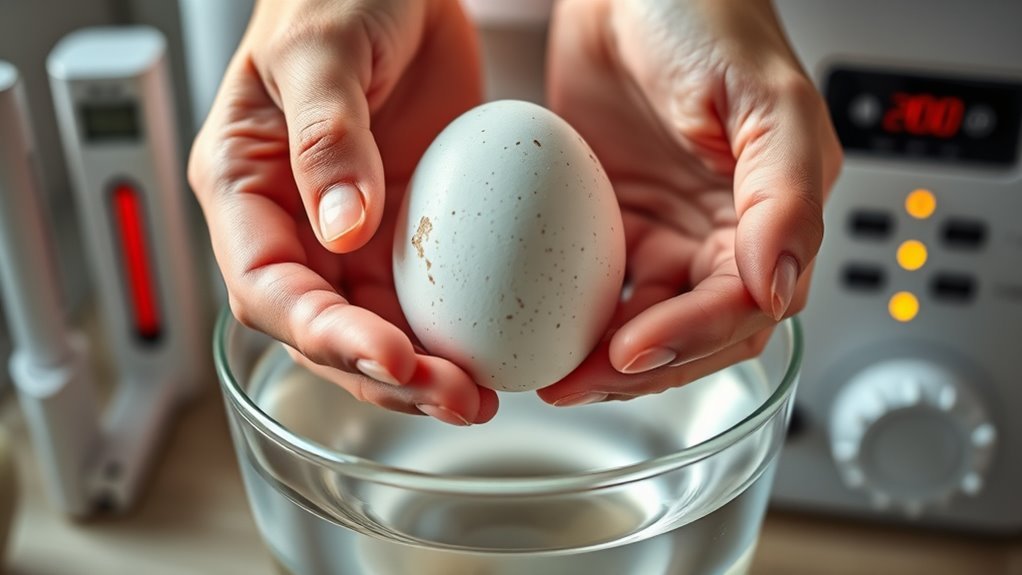
When you set store-bought eggs in the incubator, choose ones that are clean, uncracked, and average in size to increase your chances of success.
Rest the store eggs pointy end down at room temperature for 24 hours to let the air sac stabilize.
Don’t wash the eggs; instead, handle clean eggs with clean hands or gloves to protect the natural bloom.
Place the eggs in the incubator with the larger end facing up.
Mark each egg with an X or O so you can turn eggs at least three times daily, mimicking a hen’s natural behavior.
Maintain a steady temperature between 99 and 102°F and keep humidity at 50-55% to create an ideal environment for incubation.
Maintaining Temperature and Humidity During Incubation
Maintaining a steady temperature and proper humidity is essential to successful incubation.
Keep your incubator’s temperature consistent—99.5°F (37.5°C) for forced-air models or 100-101°F for still-air—with a reliable thermometer to monitor closely.
Maintain steady incubator temperatures: 99.5°F for forced-air, 100-101°F for still-air models.
Use a hygrometer to measure humidity, aiming for 50-55% during days 1-17.
Then increase it to around 70% from days 18-21 to support hatching.
Adjust water levels inside the incubator to control humidity, and manage ventilation carefully to avoid moisture buildup or dryness.
Avoid rapid fluctuations in temperature and humidity, as these can harm embryo development and reduce hatch rates.
Regularly check and calibrate your incubator’s controls to make certain of consistent conditions throughout the incubation period for the best results.
Turning Store Bought Eggs: Techniques and Frequency
Keeping temperature and humidity steady sets the stage, but you also need to turn store-bought eggs regularly to keep embryos healthy.
Turning eggs during incubation prevents the embryo from sticking to the shell and promotes proper embryo development, directly impacting hatch rate.
You can use an automatic turner to reduce manual turning or turn eggs yourself carefully.
Remember to mark each egg with pencil marks to track rotation direction.
When handling eggs, always wash your hands or wear gloves to avoid contamination.
- Turn eggs at least 3 to 5 times daily.
- Mark eggs with X and O to ensure consistent turning.
- Handle eggs gently to prevent damage.
- Use an automatic turner if possible to maintain frequency.
- Keep hands clean when handling eggs to protect embryo development.
Candling Store Bought Eggs to Monitor Development
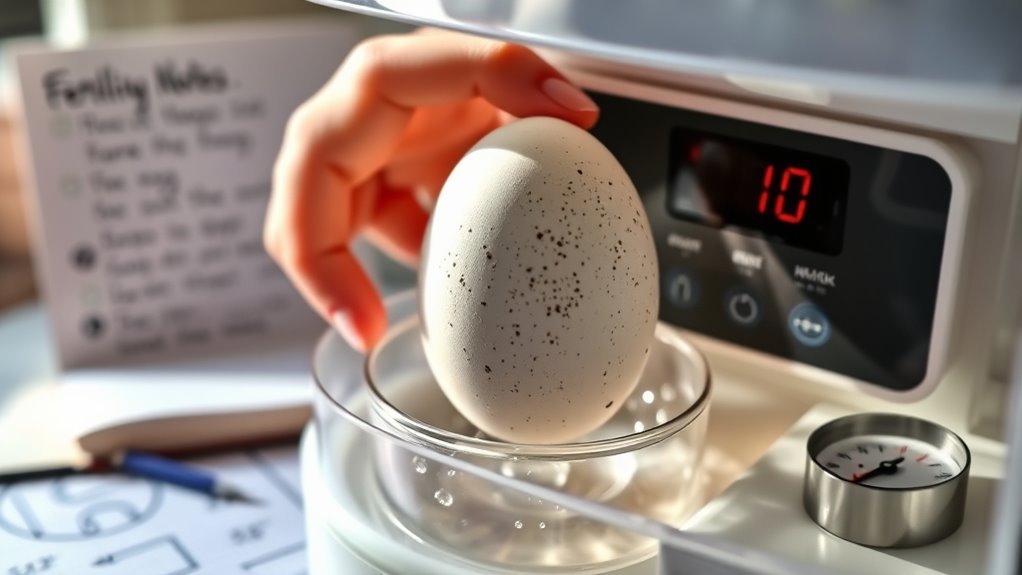
Although incubating store-bought eggs requires patience, candling them between days 7 and 10 gives you a clear view of embryo development.
This helps you identify which eggs are viable. To candle, use a bright flashlight in a dark room and hold it at the egg’s large end.
You’ll want to see visible blood vessels and some movement inside the egg, which confirm healthy growth.
Avoid exposing the eggs to bright light for more than 10 minutes to prevent temperature changes.
Eggs without development will appear clear or show a blood ring, indicating no embryo.
Mark each egg after candling to track progress, and remove any that show no signs of development before the hatch date to improve overall success.
Lockdown Period: Preparing for Hatching
Once you’ve identified viable eggs through candling, it’s time to prepare for the final stage before hatching: the lockdown period.
During this critical phase, you’ll stop turning eggs and focus on creating the perfect environment for the embryo to develop fully until hatch day.
Here’s what you need to do:
- Remove the automatic egg turner and place eggs on their sides or in a hatching tray.
- Increase humidity in the incubator to 65-70% to support the hatching process.
- Maintain a steady temperature of 99.5°F to keep conditions stable.
- Avoid opening the incubator to prevent temperature and humidity fluctuations.
- Confirm embryo development before lockdown by candling and discard any non-viable eggs.
Following these steps helps guarantee your eggs are ready for a successful hatch.
Managing the Hatch and Caring for Chicks
As your chicks begin to hatch, you’ll want to let them dry off inside the incubator for a few hours.
After that, you can move them to a warm brooder where they can start eating and drinking comfortably.
Throughout the incubation period, maintaining proper temperature and humidity was essential.
Now, make sure your brooder setup is at 90-95°F with clean bedding, food, and water.
During the hatching process, you stopped turning eggs.
So now, focus on chick care by monitoring for signs of distress or illness.
Gradually reduce the brooder temperature over the first week to help them acclimate.
Keeping their environment safe from drafts and predators guarantees healthy feather development and activity.
Proper management of hatching chicks completes your successful incubating eggs journey.
Troubleshooting Common Issues With Store Bought Eggs
Now that you’ve managed the hatching and care of your chicks, it’s important to address some common challenges you might face when incubating store-bought eggs.
Since most store eggs aren’t fertilized, hatchability is often low.
Even fertilized eggs may suffer reduced egg viability due to improper egg storage or handling.
Maintaining the right incubation temperature and humidity control is vital to improve hatch rate.
Candling eggs early helps identify viable ones but can’t guarantee success if eggs are old or washed.
Here are some tips to keep in mind:
- Confirm the eggs are fertilized before starting.
- Store eggs properly, avoiding refrigeration if possible.
- Monitor incubation temperature closely.
- Control humidity to prevent embryo dehydration or drowning.
- Candle eggs regularly to track development progress.
Frequently Asked Questions
Is It Possible to Hatch a Chick From a Supermarket Egg?
You probably won’t hatch a chick from a supermarket egg since most aren’t fertilized.
Even if fertilized, eggs are often too old or handled poorly, making successful incubation unlikely and unreliable for hatching chicks.
How to Incubate Eggs for Beginners?
Imagine nurturing life’s tiny miracle:
You’ll keep eggs warm at 99.5°F,
turn them thrice daily, monitor humidity,
candle at week one and two,
then patiently await the miracle of hatching around day 21.
Can You Hatch Walmart Eggs?
You probably can’t hatch Walmart eggs because most aren’t fertilized and refrigeration lowers viability.
If you really want chicks, get fresh, fertilized eggs from a local farm for much better chances of success.
How to Incubate Store-Bought Eggs?
You start by choosing the right eggs.
Then set your incubator to 99.5°F with proper humidity.
Turn the eggs thrice daily.
Candle them for signs of life, and patiently wait—hatching may or may not happen.
Conclusion
Remember, incubating store-bought eggs is like nurturing a tiny miracle.
Just like my friend’s first attempt, where only 2 out of 12 eggs hatched, those two chicks thrived beautifully.
With patience and careful attention, you’ll give life a chance to surprise you.
Keep your temperature steady, handle eggs gently, and trust the process.
Every effort counts, turning ordinary eggs into extraordinary beginnings.
You’ve got this!
In conclusion, while incubating store-bought eggs can be challenging, the experience is incredibly rewarding.
With the right care, you might be surprised by how many hatch.
Remember to maintain optimal conditions and handle your eggs with love.
Your journey from egg to chick is filled with potential, so embrace the process and enjoy the ride!
Happy incubating!